You've probably seen some beautiful pieces of furniture at home or in a store.
They look great, but they also cost a pretty penny. And even though you might love them, you don't want to spend thousands of dollars on a new piece of furniture.
Wood furniture has become very popular over the years. That's why it's essential to know how to care for your wooden furniture.

There are several ways to give your furniture a fresh coat of paint.
Some techniques require special equipment, while others are simple enough to do at home. The key is to choose the method that suits your budget and skill level.
Here's how:
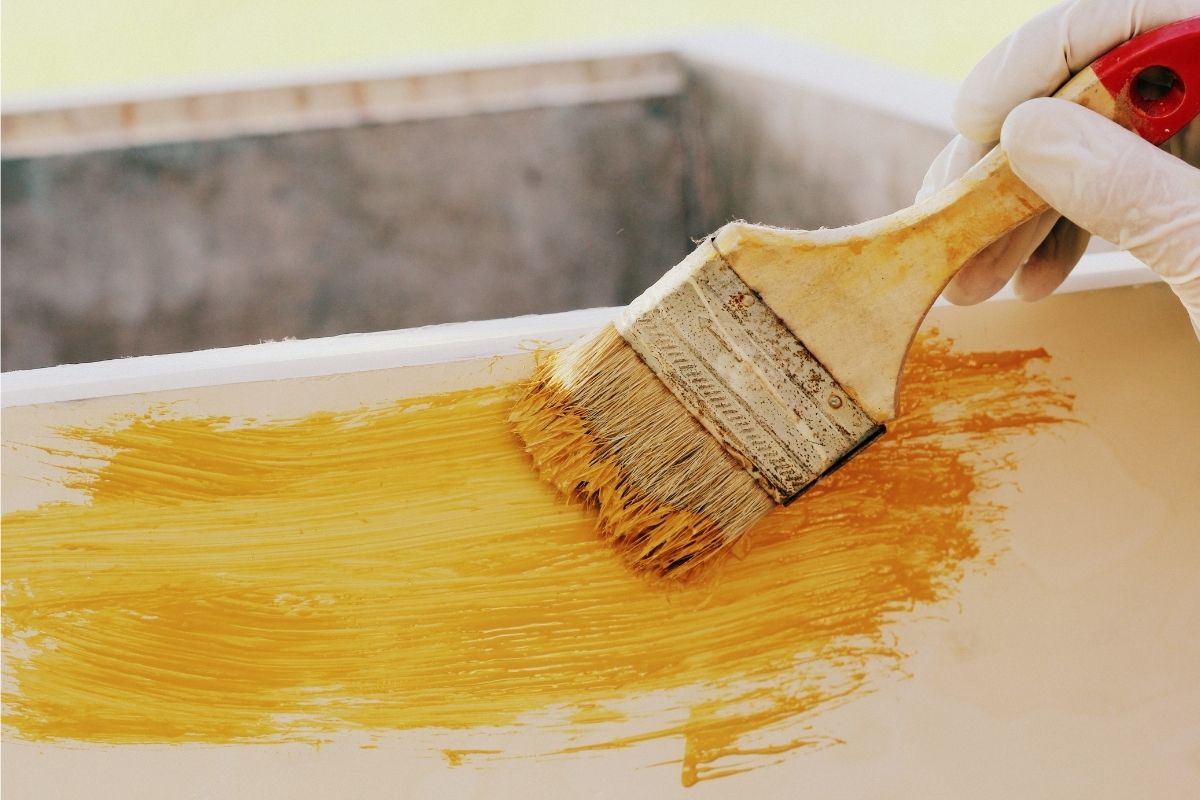
There are two main types of surfaces that you can paint with latex paint: Primer-painted surfaces and bare wood.
Primer-painted surfaces have been prepped by sanding and applying a primer.
Bare wood surfaces include unfinished wood (like unfinished frames), so they need to be painted after applying the first layer of finish.
Primer paints will provide a barrier between what type of paint you use next and whatever is already there.
When you apply this initial layer, you'll get better adhesion when you repaint the surface. It will also create a smooth base for your final finish.
If you plan to repaint your furniture, you should consider using paint specifically designed for wood.
Latex paint often requires more than one coat to fully cover the wood.
Bare wood surfaces typically require only one coat of paint. You can find premixed paint from most hardware stores and discount department stores.
Just make sure that it's labeled as "paint." Sometimes there are specific products intended for wood; just ask if you're unsure.
It may seem like a no-brainer, but choosing the right color is crucial.
Choosing a color that matches the walls and other items in your room will help unify the space. It takes practice to find colors that match each other.
A professional painter can show you which colors work together. But once you learn a little about the science behind color, you can begin to pick colors for yourself.
When selecting a color scheme, take into account the style of your furniture.
Fitted pieces might call for pastel shades. Traditional style couches are usually paired with dark woods, rich reds, and deep greens.
You can also think about the materials used to build the furniture. Is it solid wood?
Or is it veneered? Veneered furniture can be painted and stained to mimic the appearance of solid wood.
You can buy brushes at any craft store, but investing in quality ones will save you time and money.
Brushes come in several types such as — flat, roller, foam — and there’s a perfect tool for every job. For example, flat-top brushes are ideal for painting trim and moldings.

Foam brushes give you more control over large areas, while roller brushes work great for covering large surfaces.
First, choose a size brush based on the project. Smaller brushes are easier to handle and sturdier, so they're recommended for small jobs.
Larger brushes can hold more paint, and their bristles are softer, giving you greater flexibility when painting intricate designs.
Next, decide whether you want a round or flat brush. Round brushes are wider across the top than at the base, creating an excellent circular shape.
This makes them easy to use for glazing small details.
Flat brushes have a square edge, allowing you to get even coverage without rounding corners.
Next, consider what type of bristles you need. Natural bristle brushes create an even texture.
Synthetic bristles allow you to apply multiple coats quickly. Woolen brushes contain natural hair fibers that absorb moisture, helping you avoid streaking.
Finally, select an appropriate brush holder.
Some models include built-in guides, but others don't. It won't matter much if yours doesn't since you'll be using a non-slip pad under the brush anyway.
There's no right or wrong way to mix different colors. Instead, you should strive to achieve a balanced color palette.
It's best to start by mixing two colors that complement each other. Then, gradually add one color at a time until you reach the desired hue.
In most cases, you'll combine equal amounts of primary (brightest) and secondary (next brightest) colors. Add a bit of tertiary (darkest) color if needed.
The key is to make sure you have enough of each color. Too many primary colors can cause the painting to turn muddy.
Try this quick test before starting a new project to ensure a balanced mix. Begin by drawing a horizontal line through the center of your canvas.
Next, hold a sheet of paper up against the painting, lining up the edges of the paper with where the line falls.
Next, place a ruler next to the picture to measure the distance between the left and right lines.
Divide those numbers by 2, then multiply the result by 3. That number tells you how many times as wide the dominant color should appear.
Now check the exact measurement on the opposite side of the canvas. Doing so reveals how many times the second-most prominent color should be present.
Finally, divide the first number by the second. That ratio gives you the third-color percentage.
Once you've determined which ratios work best, it's just a matter of applying them consistently throughout your painting.
For instance, if you use 10% purple, 30% blue, and 60% yellow, you should aim to keep those proportions constant.
If you find yourself deviating from them, adjust accordingly.
If you like working outdoors, look into getting a spray bottle. These are handy for filling smaller cans with water and spraying paint straight onto the surface.
Of course, you can do plenty of things outside the actual painting process to optimize your results. In fact, these tips may help you finish faster and better.
Choose the correct size brush. Choose a brush that covers the entire area you intend to cover.
For example, a 1½"-inch brush works well for light applications like walls, ceilings, and trim; a 5" brush works for larger areas.
Use a clean rag in the following order: damp, dry, wet, dry. After wiping down your brush, wipe off any excess paint with a clean rag.
You want the last spot on the brush to be covered by a smooth coat of paint rather than the dry film left behind when you wiped.
This is especially important for flat surfaces such as walls and ceilings.
Select a primer. Primers provide an extra layer of protection that helps prevent peeling, flaking, and fading.
Apply a thin coat of high-quality latex house paint over the primed surface. Allow the primer to dry completely.
Use masking tape to protect small corners. When you begin painting a room, tape around all the open areas on the floor and baseboards.
Then apply a second layer of tape to your entire wall or ceiling and remove loose pieces with a utility knife.
Your goal is to create a barrier that will prevent any drips from landing on the wall or floor.
Prepare your palette. Start by mixing several shades of white at 50/50 water and pigment. Next, try using ivory, eggshell, almond, and taupe. Experiment with different variations until you find one that suits you.
Apply three coats of paint. Add it to your mixing palette once you have found the perfect shade of gray.
Mix another batch of gray and repeat the process to get two more layers. Let the final coat dry overnight.
Create a custom hue. If you know that you'll need to make a few adjustments to your overall color scheme, consider creating a custom hue.
Mix up various colors that fall under the desired range, then combine them together in equal parts. Use the resulting mixture to tint your original can of paint.
When choosing a sprayer, look for the ideal balance between reach and coverage. For example, a handheld model offers flexibility but won't give a consistent amount of paint.
An automatic sprayer will provide you with both, but it might not provide enough control over the spray pattern.
A medium-sized sprayer will allow you to cover more space in a shorter period.
The downside is that the bottles tend to produce more overspray and require frequent cleaning.
Larger models should work best if you're covering large spaces and want to avoid moving too much.
To design around wood furniture, first determine whether the piece has a natural grain or is veneered (treated to resemble wood).
Natural grains run vertically and horizontally and are usually darker. At the same time, faux woods contain a lighter-colored core surrounded by darker pigments.
You don't necessarily need to match the exact colors of your existing finishes if you choose a semi-gloss or gloss product.
Instead, concentrate on matching the sheen of the new finish by selecting a similar tone.
For example, if you've applied a satin varnish to a wooden tabletop, try a semi-gloss for a similar effect.
Before applying any sealant, scrape away any debris with a putty knife. Doing so prevents dirt from getting into the joint where the old finish meets the new.
After scraping down the surfaces, wipe away any dust with a damp cloth. This seals the surfaces and ensures that any stray marks blend seamlessly into the new paint job.
If you plan to refinish cabinets, remove hardware before sanding; otherwise, you could damage it. Also, wear eye protection because the fumes can irritate the eyes.
Don’t use ammonia-based products. They can stain the wood and may cause discoloration. Instead, test for mildew first. These products have fungicidal properties that help destroy mold.
Paint a sample area to check coverage and texture. You should see no feathering or bleed through. The edges should also meet smoothly without show-through or cracks.
Paint cans are heavy. Avoid back strain by ensuring that the canister is placed at an angle and evenly balanced.
To conclude, painting wood furniture requires patience. However, the end result is well worth the effort. If you follow these tips, you'll quickly achieve a professional appearance.