Every kitchen is prone to greases and contaminated air, so range hood installation is crucial equipment even at home. However, not everyone has enough space to accommodate this setup. Fortunately, our kitchen experts are here to teach you how to install a ductless range hood anywhere from its electrical work up to wall mount arrangements.
Installing ductless range hoods is more complex than hanging home decor on your walls. If you want to complete this faster, our team advises you to prepare materials and tools you’ll need ahead of time. For starters, ensure that you have a tape measure and cardboard on standby.
Besides that, don’t forget to add a pencil, level, and 2-inches drywall screws to your toolbox. And, of course, these provided screws must come along with screwdrivers.
For the plug works, an electrical outlet, electric circuit tester, and wire stripper are especially needed as well.
This ductless installation will also require you to use power tools like a drill and jigsaw. Last but not least, throw in the stud finder and ⅛ inch drill bit into your list of tools.
Before you install a range hood, our resident cooks recommend you double-check the available space in your kitchen.
Although installing ducted range hoods seems more demanding than ductless ones, this setup still has height requirements for proper installation. You can find more details on this in the product manual.

Another important tip when installing a ductless range hood is to mount it near an electric outlet with safe capacity. You also need to determine if your ductless hood has enough clearance from the cooking range and the cabinets, which we’ll thoroughly discuss below.
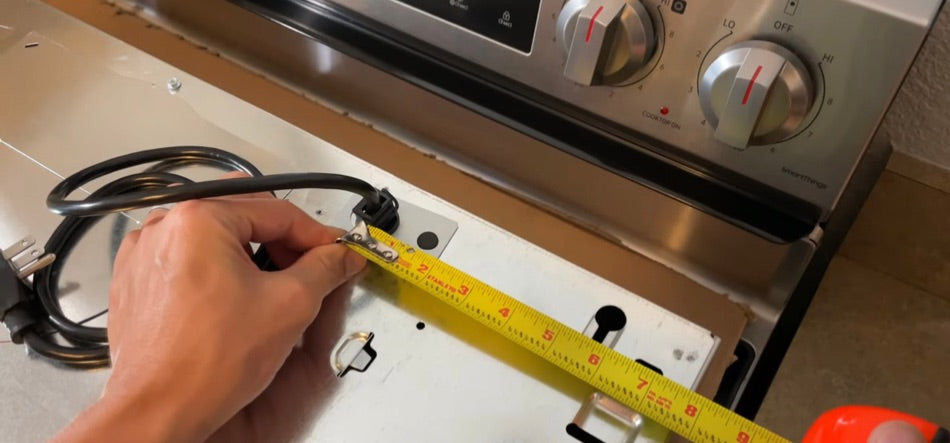
Part of the installation is figuring out the center point of the wall or cabinet where the ductless range hood goes. This step will be so much easier if you use cardboard and measuring tape. Generally, range hoods can be placed above cooktops from 29-inch to 34-inch.
We also advise measuring its length from the top of the chimney bracket. After all that is done, draw a vertical line on the range hood centerline for drilling and mounting later.
Many fire accidents start in the kitchen [1], so we recommend you to be extra careful when you install the electrical box for your kitchen ductless range hood.
Carefully place the box against the wall, facing the location where the wires are.

Using the electrical circuit tester, you can verify if all the connections are working fine. If it does, then you have the right breaker.
You can now proceed to turn off the circuit breaker. Upon closer look, you’ll see the marked lines where you’ll cut a small hole using drywall screws.
Pry open that hole and let circuit wires go through it. After all the wires are looped, lock the electrical box in the wall by tightening its twists.
Before doing this step, don’t forget to scrape the insulated wire by half an inch using a stripper. Twist each wire into a “J” shape and loop it on the black wire. And then, start screwing it in a clockwise direction and keep it tight.
Do the same procedure for the white wire, except it goes on the neutral silver screw. Lastly, attach the copper wire at the end of the electric receptacle around the ground screw.

When the wires are inserted into the box, mount the outlet straps into it as well.
The next stage of how to install a ductless range hood is mapping the bracket holes. The easiest way our team can recommend is plotting the back of the hood with paper.
Once holes are mapped, mark the wall where you’ll mount the hood with screws. Using the map as a template, drill the pilot hole and start to insert the screws.
Next, hold your range hood up using mounting screws. Search the studs at the back of the hood and securely anchor them to the lines. The pins you attached earlier will suspend the hood range and secure it in place.
Before the last installation stage, our kitchen experts highly suggest plugging the hood to see if it works properly. However, you have the option to do this before you decide to mount it on the wall.
Because this is a ductless setup, you don’t have to do anything but load it up with a charcoal filter. These recirculation filters will lead the airflow to the chimney holes. Besides the charcoal filter, also ensure that the chimney is firmly screwed to the roof’s body.
Yes, ductless range hoods are easy to install for people who are well-rounded in using tools. However, it would help to have someone assist you on the sidelines when mounting it. Make use of the cardboards or plywood pieces to keep yourself safe and protected during the entire installation.
Learning how to install a ductless range hood is especially helpful if you have a smaller kitchen space. And while it can be intimidating to handle it all by yourself, we don’t discourage you from seeking extra help. After all, mishandling the electrical works in the kitchen isn’t a light matter to ignore.