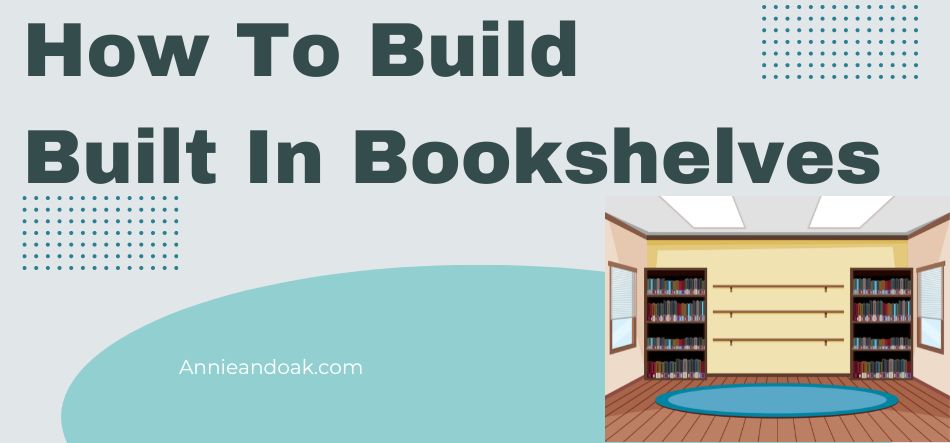
How To Build Built In Bookshelves

Are you thinking about building a built-in bookshelf and don’t know where to start? Maybe it's time to turn your hand to some DIY and need some advice?
Or are you looking for some bookshelf inspiration? Whatever your reason might be, we have the answer for you!
We know how challenging DIY can be if you have never done it before! You can quickly find yourself overwhelmed, lost in a sea of measurements, spirit levels, and drills, unsure what to do or who to trust.
Well, that ends today! Today we are here with all the information you need to build your own built-in bookshelf! Just keep reading to find out more.
How To Build Built-In Bookshelves
Before we get into showing you how to build built-in bookshelves, let’s clear a few things up. When building built-in bookshelves, you can make them any size or style you want.
Whether you want to turn a wall into bookshelves or fill an alcove with shelves, built-in bookshelves come in all shapes and sizes, offering you the storage space you need.
You can also choose the material that you want too.
Most built-in bookshelves will be made of wood, but you can choose the type of wood, the thickness of the shelves, and whether you want to add cupboard doors or not!
Before building your built-in bookshelves, we recommend measuring the space you intend to use and sketching how you want the bookshelves to look.
Having a clear idea in your mind before you start can help you make your dream a reality easily.
As there are so many styles that we can choose from, the following steps showing you how to build a built-in bookshelf are quite general.
You can use the following steps to build your built-in bookshelf, tailoring them where necessary.
Let’s get into it now!
Step 1 - Measure Your Space
We touched on this earlier, but to start you will want to measure the space you want your bookshelf to be.
We recommend adding two inches for every shelf and some room on the outside edge and top of the bookshelf.
This allows for air circulation in the room and around the bookshelf, which is ideal if the room is particularly humid.

Measure from the ceiling down before measuring the width of the wall.
You can then divide the width of the wall up as you choose for the number of bookshelves you want.
Make a note of these measurements and double-check them to ensure that you build the correct size for your bookshelf!
Step 2 - Mark Your Wall
Once you have the measurements, you will want to put some markings on the wall where you want the bookshelf to be.
Start with a rectangle for the outer shape of your bookshelves, making it with painter's tape. You will want this to be as accurate as possible.
To double-check, measure down from the ceiling and up from the floor. Now, for every shelf allow two inches on each side for the air circulation we mentioned earlier.
You will also want to allow three to four inches for the top and bottom of the bookshelf. This will provide some storage space and air circulation.
Step 3 - Start Cutting Your Wood
Next, start cutting your wood. You can take two pieces of cardboard to follow as a guide to help prevent any gaps between the boards.
This also helps you keep the boards straight too! You can use a circular saw or any saw you have to hand.
Cut one edge at a time until you have all four. Next, mark where the nails or screws need to go depending on the size of your boards.
Generally, these will be 1-inch thick. While nailing or screwing you might notice a gap or a different direction of the boards. You can switch to the other side.
Once the markings and cuts are complete you need a final piece for your bookshelf if your bookshelf needs a back. A back prevents nails and screws from poking into your hands when you handle them.
Step 4 - Build And Mount Your Bookshelves

Now it's time to mark where each shelf needs to be placed!
You want the shelves to be flush with their neighboring shelves, that way no holes will show between each board.
You can use some scrap wood as a base when screwing or nailing it to the wall.
Once the bookshelves have been built, it is time to mount them to the wall! You can do this with nails or screws using the backboard.
Alternatively, you can use mounting hooks suitable for bookshelves, the choice is yours.
You will want to ensure that they can take maximum weight to ensure that the shelves don’t come off the wall!
Once the bookshelves are mounted, start by placing some heavy books on the shelf to see if there are loose joints or any other issues that need to be rectified.
If you notice any issues you can go back in and make adjustments to nails or screws.
Most issues in the construction can be rectified quite easily, so don’t worry if you need to make adjustments!
Final Thoughts
And there you have it, a guide you can follow to build built-in bookshelves!
This guide can act as a rough guide for you to follow, making adjustments to suit the style of bookshelves that you want.
You can add different mounts or finish the shelves with the paint or varnish that suits your decor.
When constructing your bookshelves, be sure to double-check your measurements. The last thing you want is to have to go out and grab more wood to start again!
Make sure you have a second pair of hands at the ready to provide any help if you need it too! Why not use our guide and start your next DIY task today?


